> For the complete documentation index, see [llms.txt](https://docs.punch.win/llms.txt). Markdown versions of documentation pages are available by appending `.md` to page URLs; this page is available as [Markdown](https://docs.punch.win/getting-started/get-usd.md).
# Deposit & Withdraw USD
USD is the most stable currency to trade with on PUNCH.WIN. You deposit into PUNCH **from your connected wallet**, so the flow is two steps: first get the asset into your wallet, then deposit it into PUNCH.
{% hint style="info" %}
**ONEUSD is your USD.** On CROSS Chain, the dollar asset is called ONEUSD, and PUNCH.WIN simply shows it as **USD**. Same asset, simpler name.
{% endhint %}
***
## Deposit USD
### Step 1: Fund your wallet
Skip this if your wallet already holds **USDT** or **ONEUSD**.
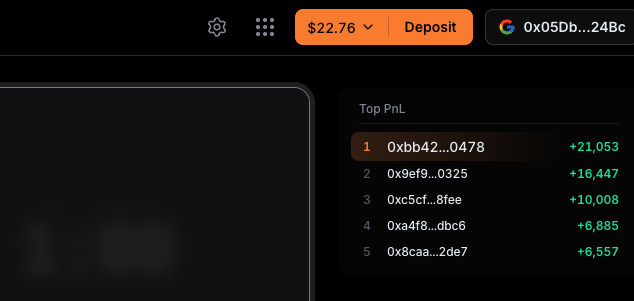
Open your wallet by clicking the **wallet button in the top-right** (it shows your address, e.g. `0x05Db…24Bc`). Your wallet address is shown at the top of the menu. Send **USDT** on BNB Chain (BSC) to that address.
Once the transfer arrives, it appears in your wallet balances. For USD, you'll deposit **USDT (BSC)** (or **ONEUSD** if you already hold it) in Step 2.
### Step 2: Deposit into PUNCH
**1. Open Deposit and choose USD**
Click **Deposit** in the header, then choose **USD** in **Select asset to deposit**.
**2. Pick your asset and enter the amount**
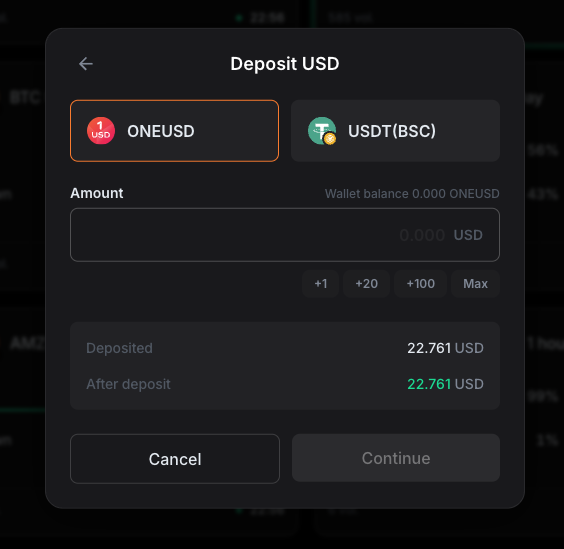
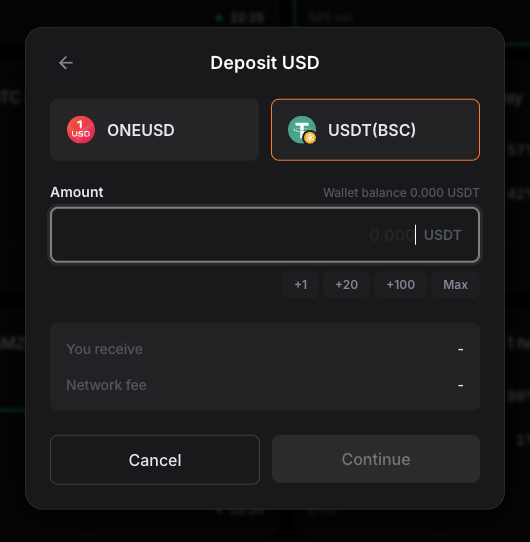
The **Deposit USD** window has two source tabs at the top. Pick the asset in your wallet, enter the amount, and click **Continue**.
*ONEUSD*: deposit ONEUSD you already hold on CROSS Chain.
*USDT (BSC)*: deposit USDT directly from BNB Chain. The **You receive** amount and **Network fee** are shown before you confirm.
**3. Done**
Once confirmed, your **USD** appears on-platform and is ready to trade.
***
## Withdraw USD
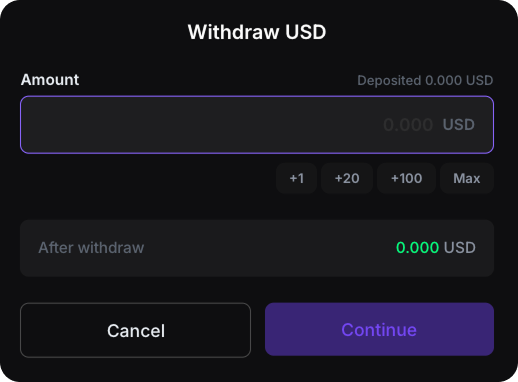
You can withdraw your USD back to your connected wallet at any time. It's returned to your wallet as **ONEUSD**.
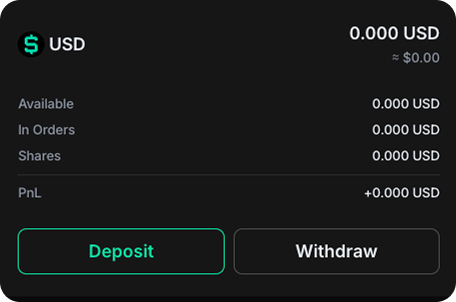
### 1. Open the Withdraw modal on the Portfolio page
### 2. Enter amount
### 3. Confirm in your wallet
### 4. Done
Your USD is sent to your connected wallet as **ONEUSD**.
***
## Bridge ONEUSD ↔ USDT
Your withdrawn USD lands in your wallet as **ONEUSD** on CROSS Chain. Use **Bridge** to move it between CROSS Chain and BNB Chain, for example to turn ONEUSD back into USDT (BSC), or to bring more USDT in.
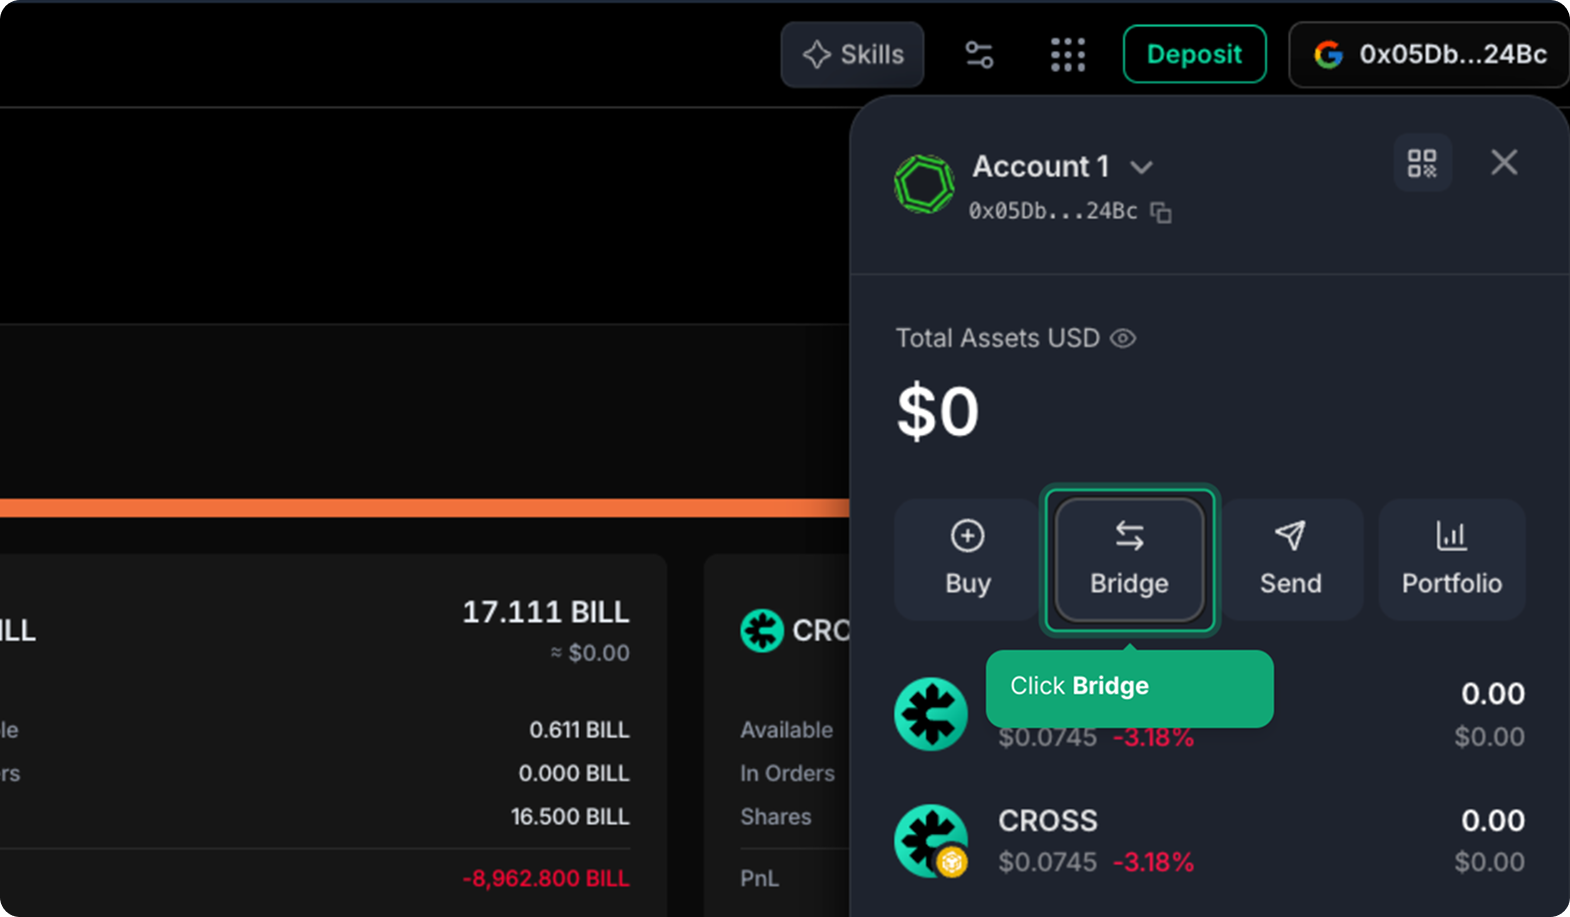
### 1. Open your wallet and click Bridge
Open the account menu in the header, then click **Bridge**.
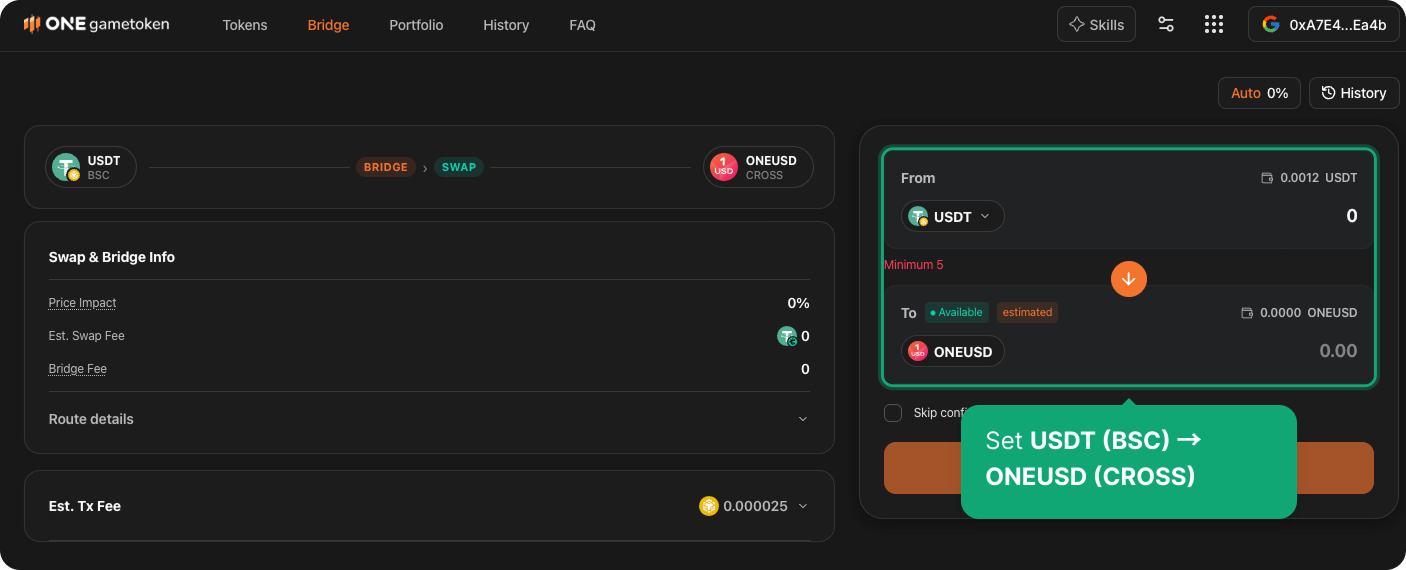
### 2. Set your route and continue
On the Bridge page, choose your **source** and **destination** (e.g. ONEUSD (CROSS) → USDT (BSC), or USDT (BSC) → ONEUSD (CROSS)), enter the amount, and click **Continue**. It's bridged and swapped for you.